I decided to go ahead anyway, and buy some new wood. The old seats were looking really weathered, not helped by my attempt many years earlier to refinish them, not realizing that they were not solid wood but plywood veneer, so that I sanded right through the top laminate.
Old plywood showing worn veneer
Old plywood showing some rot
Originally I was going to measure the existing seats, make new ones to the measurements, then replace them. It became obvious that as they were an irregular shape, with various holes and fittings in, that my chances of getting that correct were slim. So on a fine day I removed the old seats, removed the edging strips, and traced the shapes onto a new piece of plywood. I then returned the old seats to the boat, in case of rain.
Ideally, I would have used some teak plywood. But I would have had to special-order that, and I wanted to get on with the project having already removed the old seats, so I bought some oak ply for less than half the price. I suspect it's actually a softwood ply with an oak veneer on the outer surfaces. I'm hoping it lasts several years - the lamination glue is waterproof, at least.
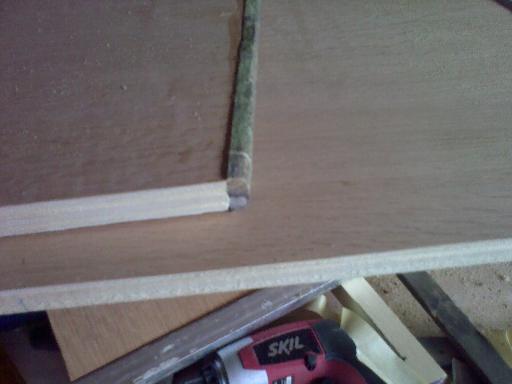
Fortunately, the edges of the actual plywood are at least straight. I planed the edges down with a hand plane and used a straight-edge to gauge completion, though it would have been easier to get a 90-degree straight edge on a planing table. To protect the end-grain of the veneer from tearing, I clamped either the opposite seat or scrap ply topside-to-topside and planed both together.
The edges as rescued from the old seats were in tolerable condition once sanded. I used brass pins and copper nails, some rescued from the old seats, to secure the edges and also strips of tape while gluing. I used a marine-quality woodworking glue similar to the old Aerolite. The underneath corners of the edge strips and plywood are bevelled, to create a groove to prevent water from following the surface around and into the locker. I forget whether this was an original feature, or one I added in the past.
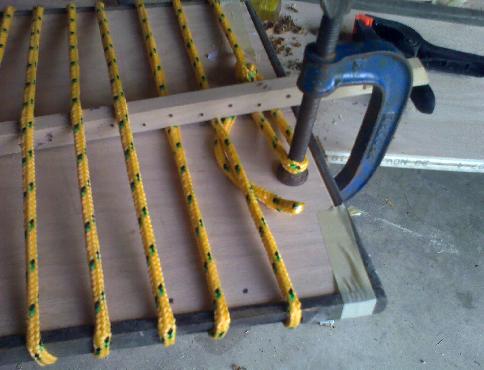
For the long edges, I used a long length of rope tensioned with battens to clamp the edges while gluing. The joins were not quite perfect - I made some mistakes planing, and in a couple of places the salvaged teak edge had left some wood on the old seat instead of parting cleanly alongthe glue line. I filled in these small gaps with epoxy later.
I had marked the bolt holes and screw holes, and basically finished the seats at home before fitting them. That was perhaps a mistake - almost everything was correct, but the stern seat was a tiny bit wide and had to be sanded down to avoid scraping on the fibreglass moulding. Also, one of the catches was a few mm off, and more annoyingly, two of the bolt holes were about 6mm off and had to be redrilled.
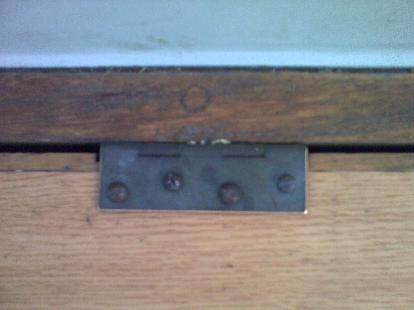
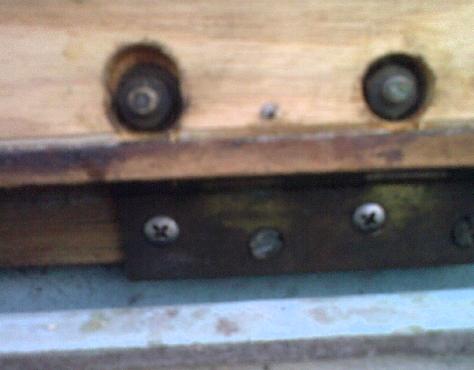
The previous owner (my father) had replaces the original hinges on the port and starboard seats with larger brass ones bolted through the seat, with nuts and washers recessed into the underside of the seat. I copied this somewhat inelegant arrangment without thinking about it till it was too late, but took the opportunity to bevel the exposed edges of the hinges. In practice, the hinges are well back on the seat and have never caught on any clothing or been at all uncomfortable to sit on.
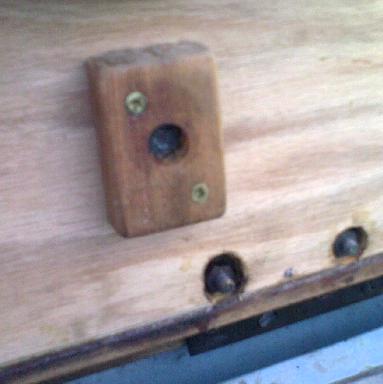
To prevent water ingress into the ply, the insides of the bolt holes and screw holes on the upper surface are sealed with epoxy. There are two autopilot mounts (old and new). The brass mounts are epoxied into the plywood, and for extra strength a wood block is fitted underneath into which the mount extends - in the past, the mount had worked loose when glued only into the seat.. Due to the extra stress on the hinges due to the autopilot, the aft starboard hinge is secured by two horizontal 4" stainless bolts which extend through the teak and fibreglass behind, fastened by bolts inside the locker.
All the exposed wood (and undersides also) is treated with teak oil.