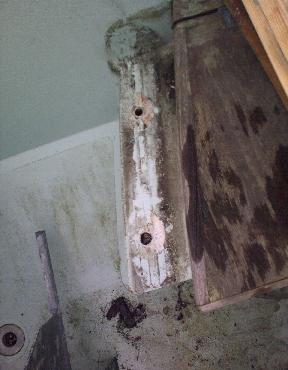
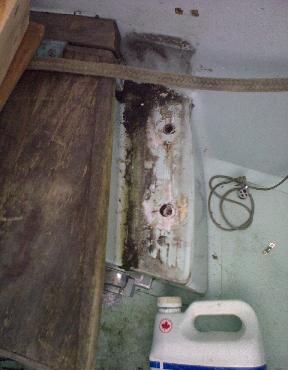
Mountings in moulding showing boltholes


Mountings in moulding showing boltholes
Sometime around 1990, I found that the original timber had rotted, and replaced it with a similar design using a laminated timber created, as I recall, from lengths of hemlock clamped and glued in place against the original timber to copy the original curvature. This was painted with some 2-part epoxy left over from treating the hull.
In 2010, I noticed that this timber in turn was no longer secure on the port side and initially avoided the issue by securing the traveller at the starboard side of the track. Last year I decided to replace the timber support a second time.
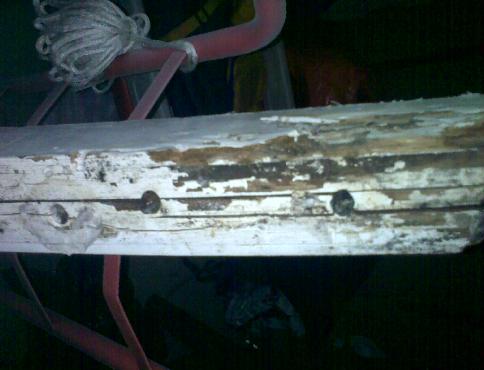
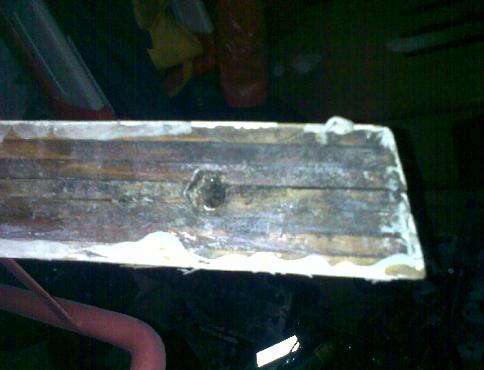
The previous track support, showing delamination and rot around the bolt
holes
Initially I thought I would try to form curved timbers from slightly thicker sections by steaming them, and then glue them into the final shape by clamping. I started out trying to bend the wood by wetting it with warm water and clamping it against the old curved timber. That did not work particularly well, so I made a steam box with the aid of an old kettle and heating element, and tried again. This was a bit more successful, though the wood would naturally spring back a bit after the clamps were released. To allow for this, I added shims to bend the wood more than the final required curvature.
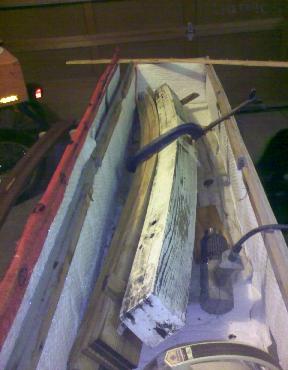
Steam box showing scheme to create a curved vertical laminate
Eventually, I created a new curved timber with the required bolt holes. However, when I tried to fit it to the cockpit I found that it was not sufficiently curved. I had forgotten that the previous replacement timber did not have quite the same curvature as the original, for the same reason - the glued wood had spring back somewhat after being unclamped.
At this point I was getting a bit fed up with the whole procedure, which had taken several weeks attempting to bend a couple of sections at a time in the steam box, on top of the failed attempts with warm water. When I saw a nice-looking piece of 3/4" maple plywood in a hardware store I thought it would be a whole lot easier to just cut sections of plywood and laminate the timber horizontally instead of vertically. It would probably be about as strong, anyway. The bolts would be bearing against horizontal laminates in the ply, instead of trying to split the vertical laminates apart.
So that's what I did. I tried to fit stainless washers between two of the laminates to better take the stress, but miscalculated. The 4" bolts go through the track, the cap, and two of the layers of plywood, so there is a 1/4" hole in two layers and a 5/8" hole to take the recessed nuts in the others. I glued 3/4" washers between the layers but had to drill them out when I found the bolts did not quite reach. The plywood is laminated with a marine woodworking adhesive, and coated in several layers of varnish on all sides, including under the teak cap. The insides of the bolt holes and screw-holes in the top surface are treated with epoxy - it appears that some of the problem with rot, both on the original timber and on my 1990 replacement, was due to water seeping down the bolts through the track and then into the wood. I also sealed the bolts through the track with silicone.
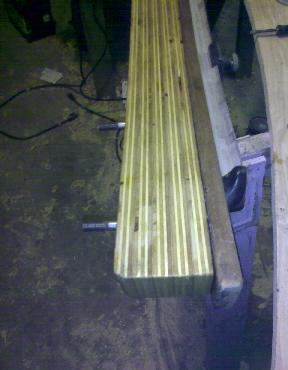
New track support laminated horizontally from 3/4" plywood
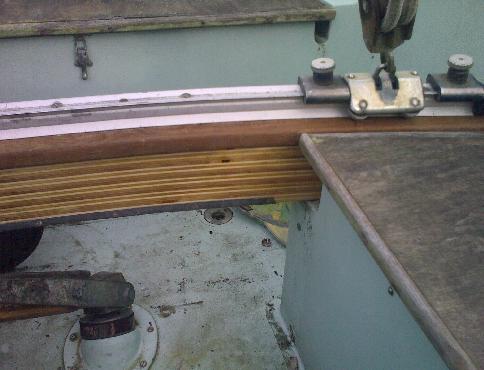
The new support fitted in place