Image 3
Previous
Next
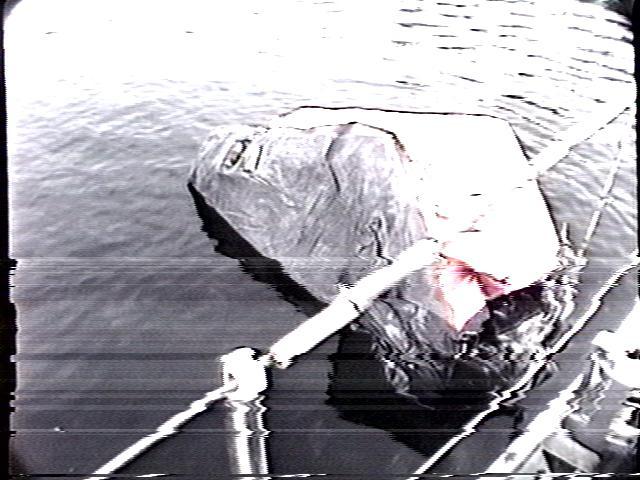
Back to liferaft text